
How do I set up a GrowthLoop integration?
This quick guide will walk you through getting your Community account connected to GrowthLoop so you can export audiences from your data warehouse to Community.
Prerequisites
- You must have access to an active Community account with API permissions.
- You must have access to your GrowthLoop account.
NOTE: Audience segments sent to Community will receive OPT-IN SMS messages.
Set Up Steps
We'll begin on the Community side and then move on to complete the set up in GrowthLoop!
Community
-
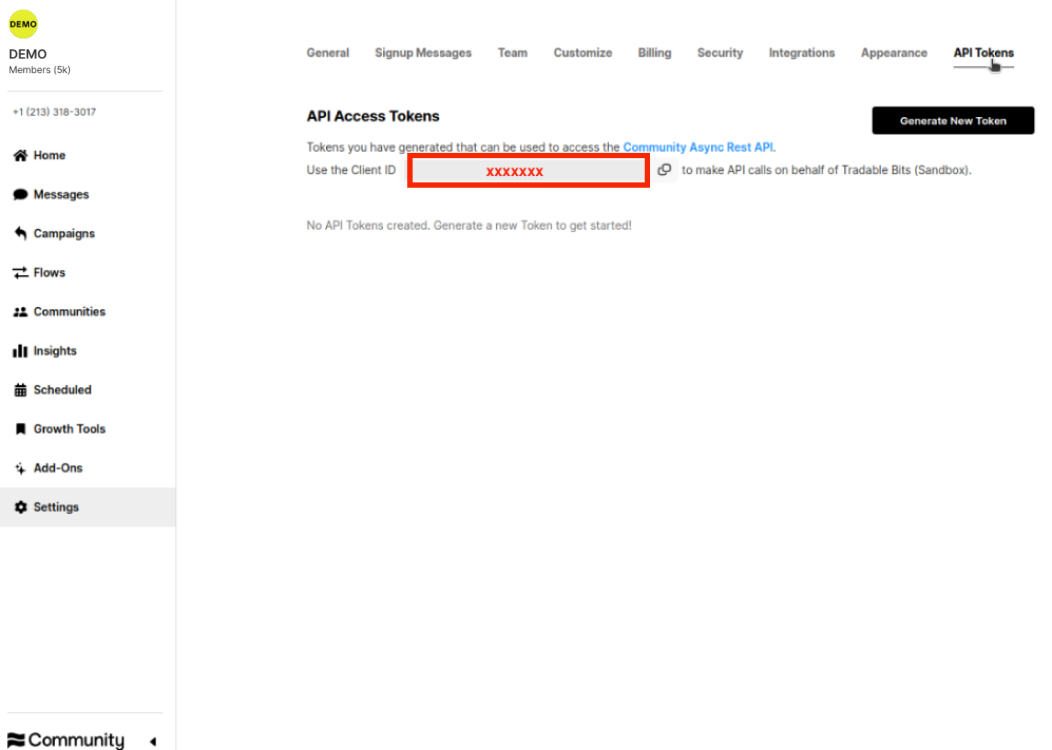
Login to your Community dashboard and navigate to Settings>API Tokens
- If you do not see the API Tokens tab in Settings, please read about how to get access here Getting API Access, Tokens, and Authentication here. API access must be added to your specific seat.
-
Copy your Client ID
-
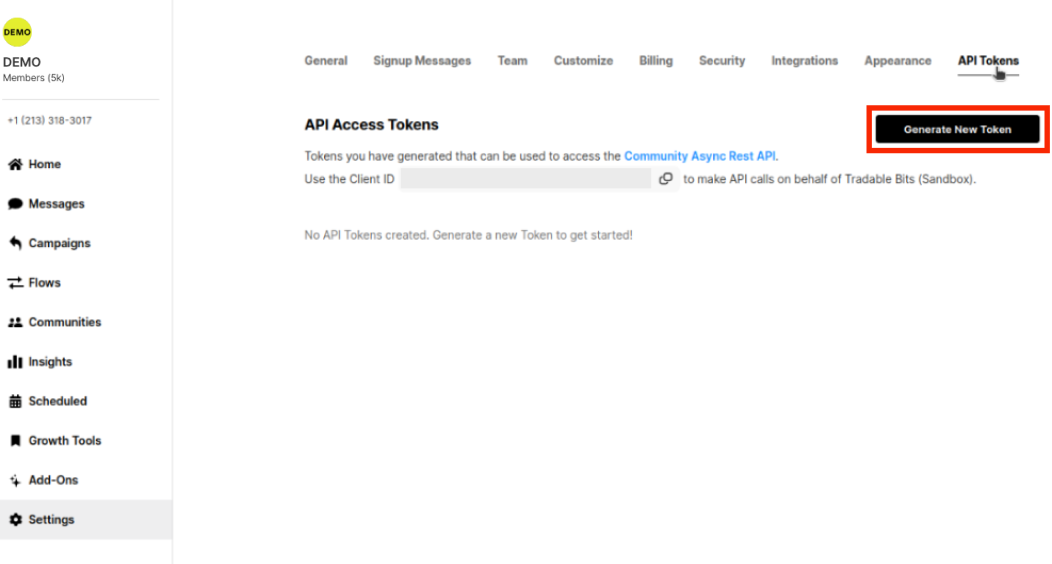
Generate a new API Token
-
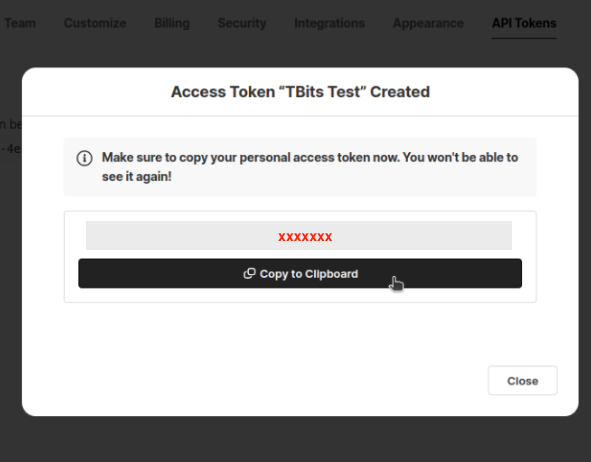
Take note of your new Access Token somewhere secure. You will need it to complete the integration on GrowthLoop and will not be able to review it again.
That's it for the Community set up! Now move to your GrowthLoop account to complete the setup.
GrowthLoop:
-
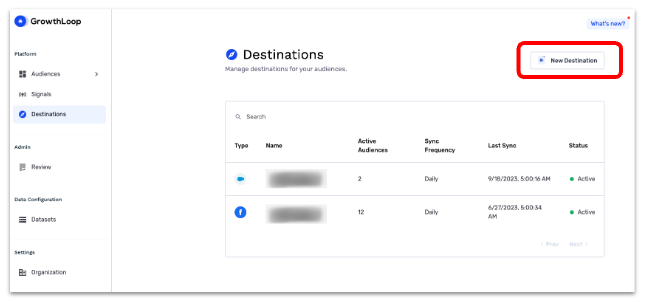
Login to your GrowthLoop platform and navigate to Destinations>New Destination.
-
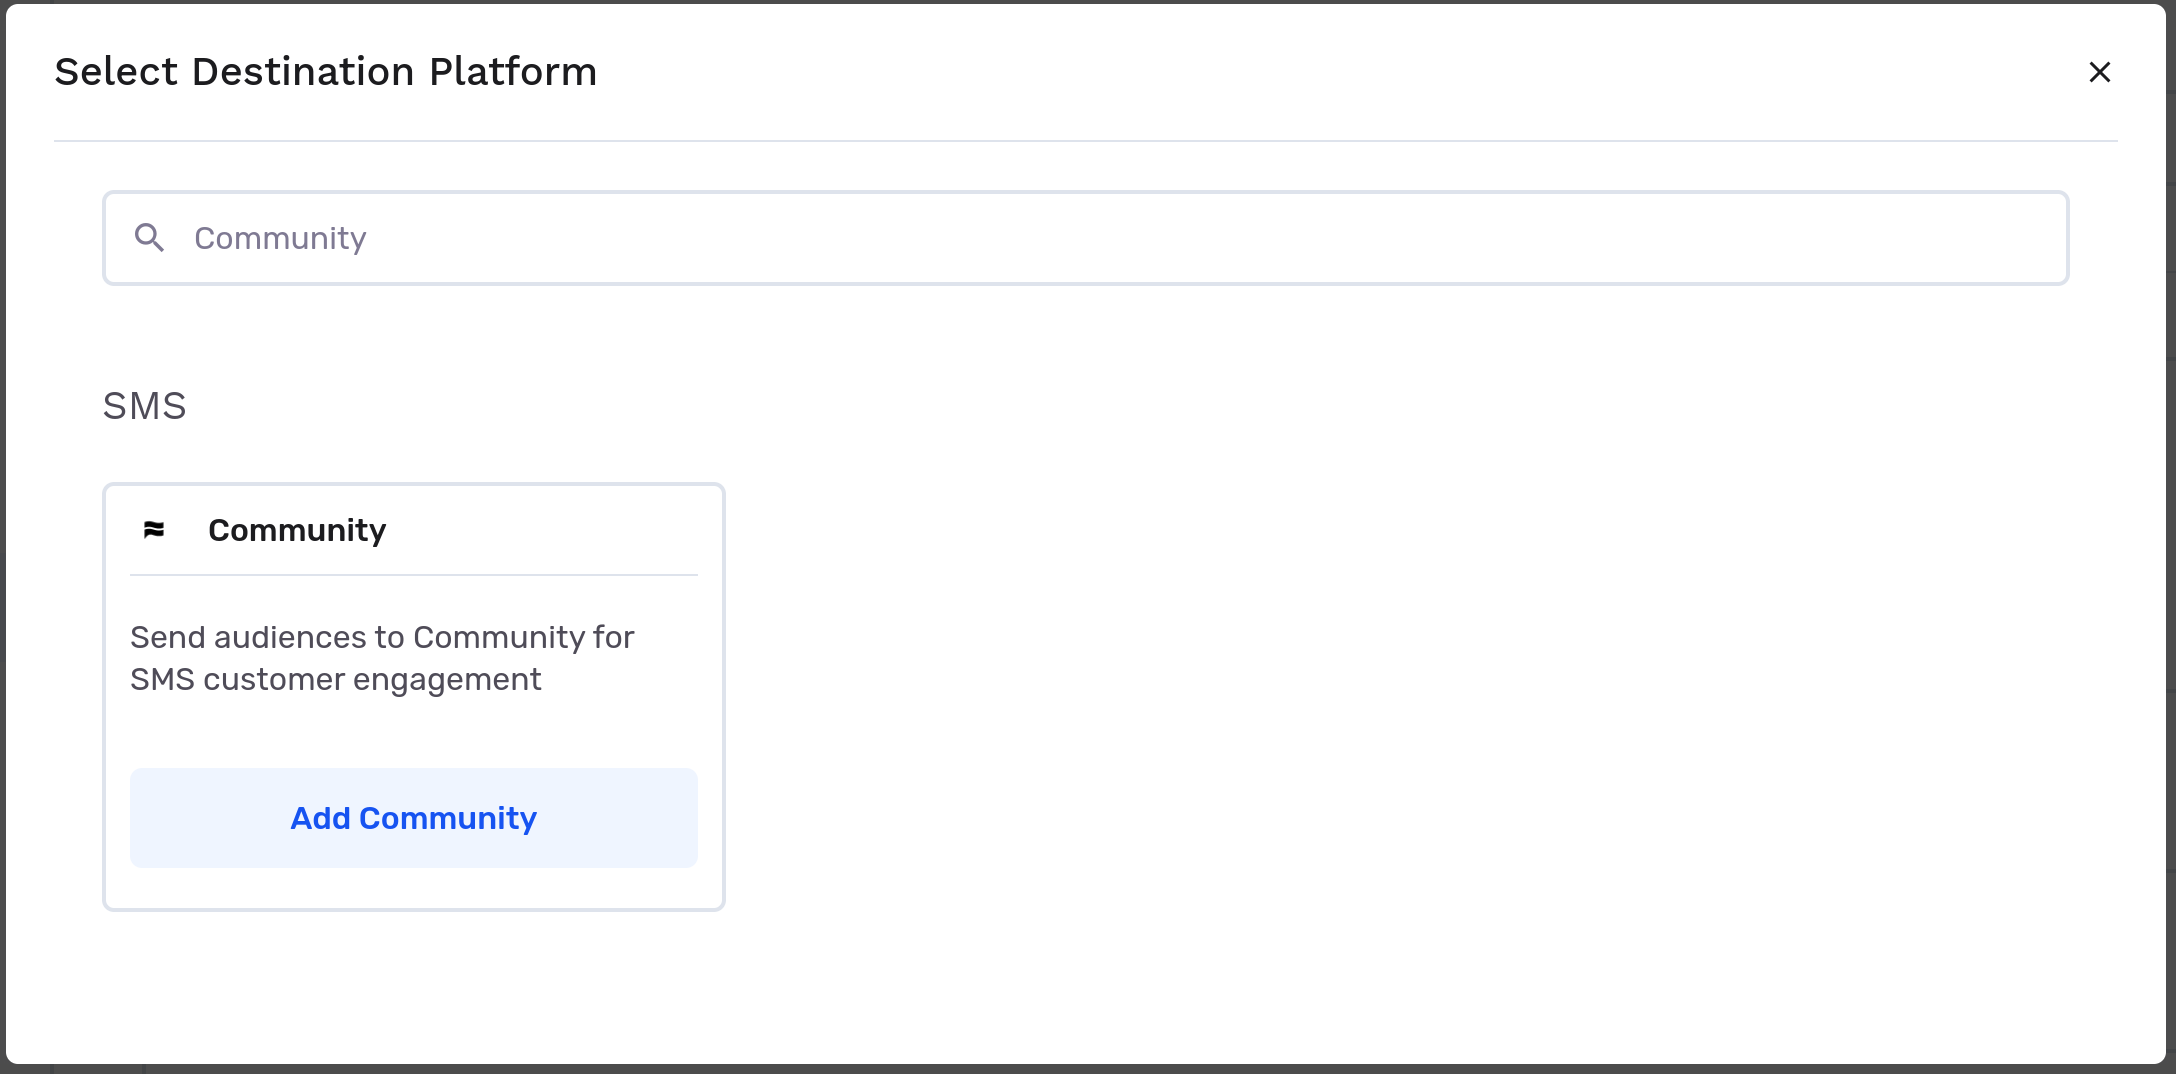
When the Select Destination window pops up, type Community into the search bar and click Add Community.
-
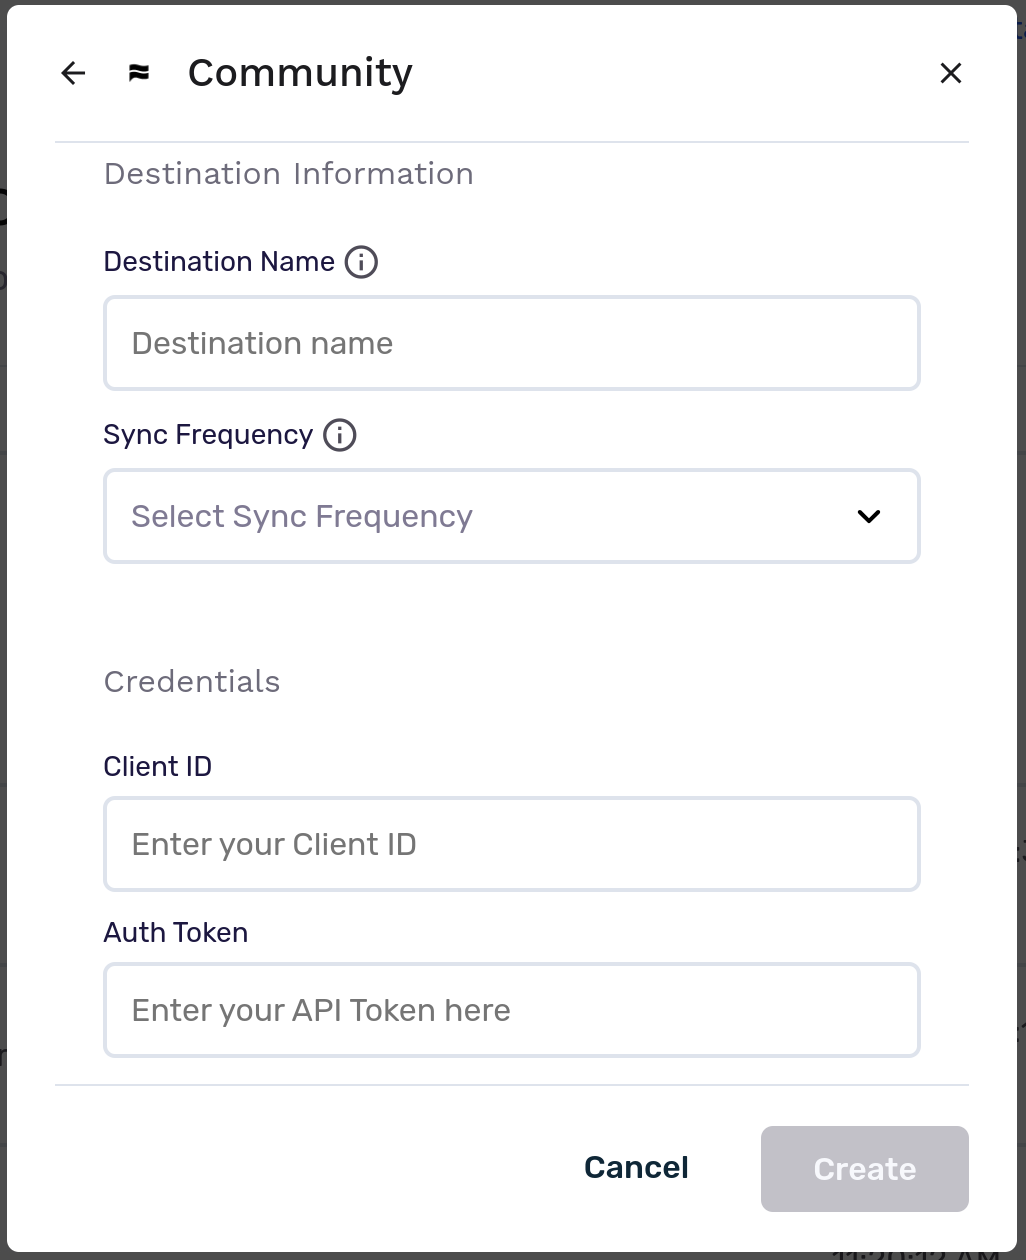
Select/insert the following information:
- Destination Name: This is how the destination will be named and referred to in GrowthLoop going forward. We recommend using "Community" as the destination name.
- Sync Frequency: This is the default frequency audiences will be synced to Community. The frequency of an export can always be changed but this sets the default.
- Client ID: Input the Client ID copied from the Community platform.
- Auth Token: Input the Access Token you generated and took note of in a secure place.
-
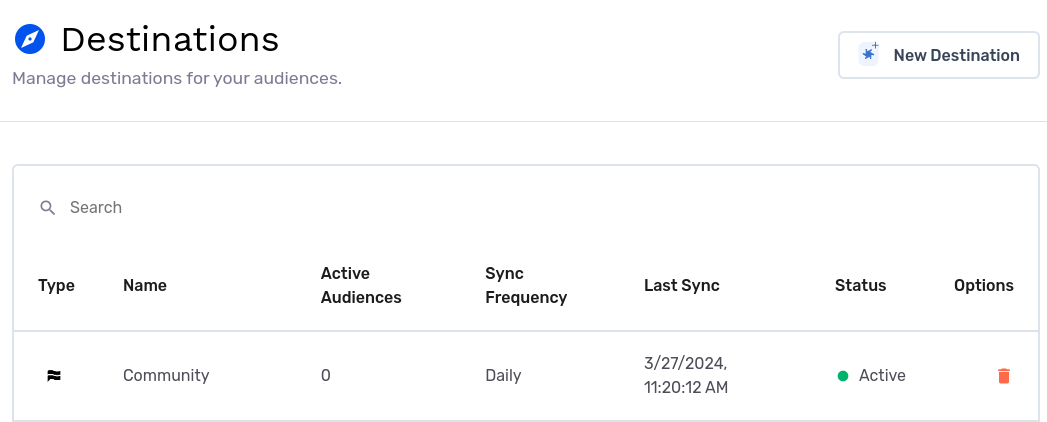
Click Create. You should now see Community in your list of connected destinations, as shown below:
-
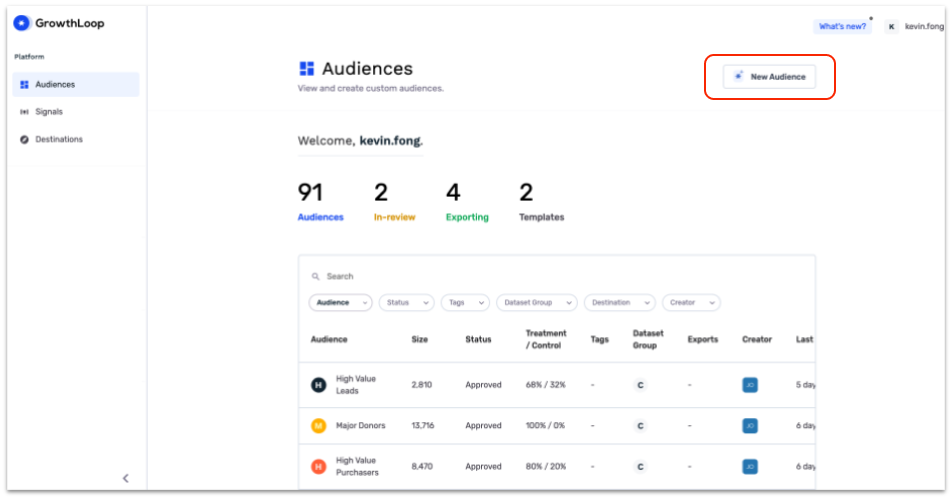
To export an audience, you'll need to build one first. Navigate to Audiences>New Audience.
-
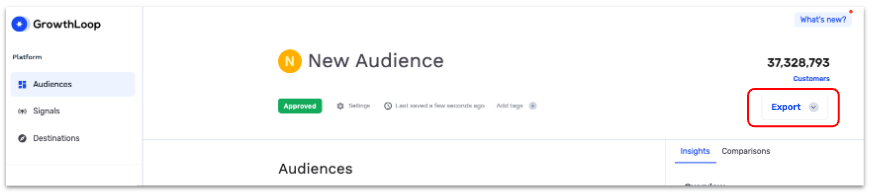
Once you finish building the audience, click Export Audience.
-
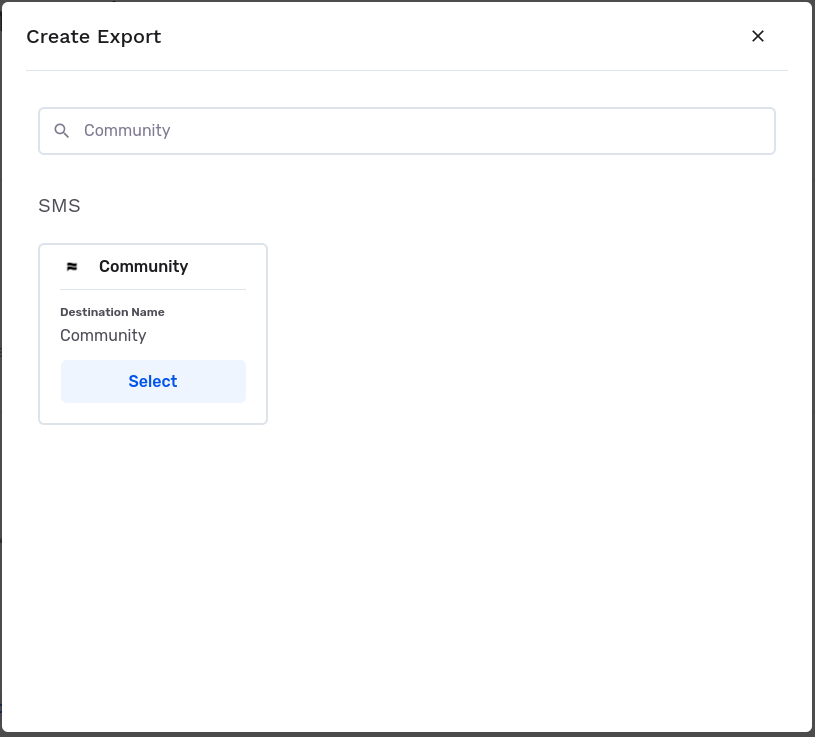
When the Create Export window pops up, type Community into the search bar and click Select.
-
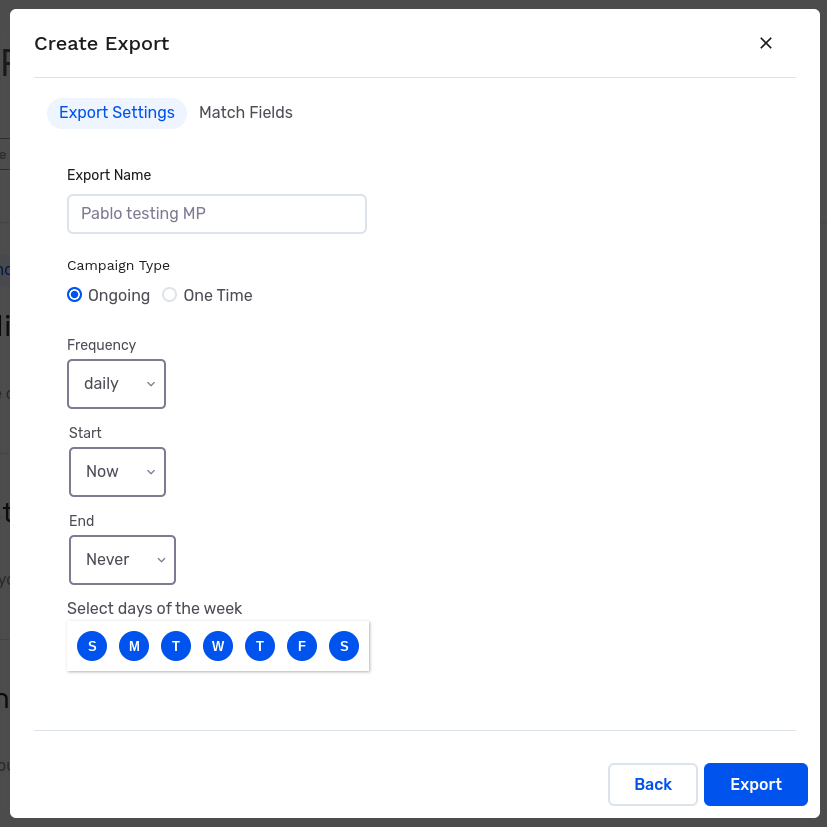
In the Export Settings, configure your desired Export Name, Campaign Type and Export Schedule. By default, the name field will auto populate to your audience name so you can easily find it in your destination
-
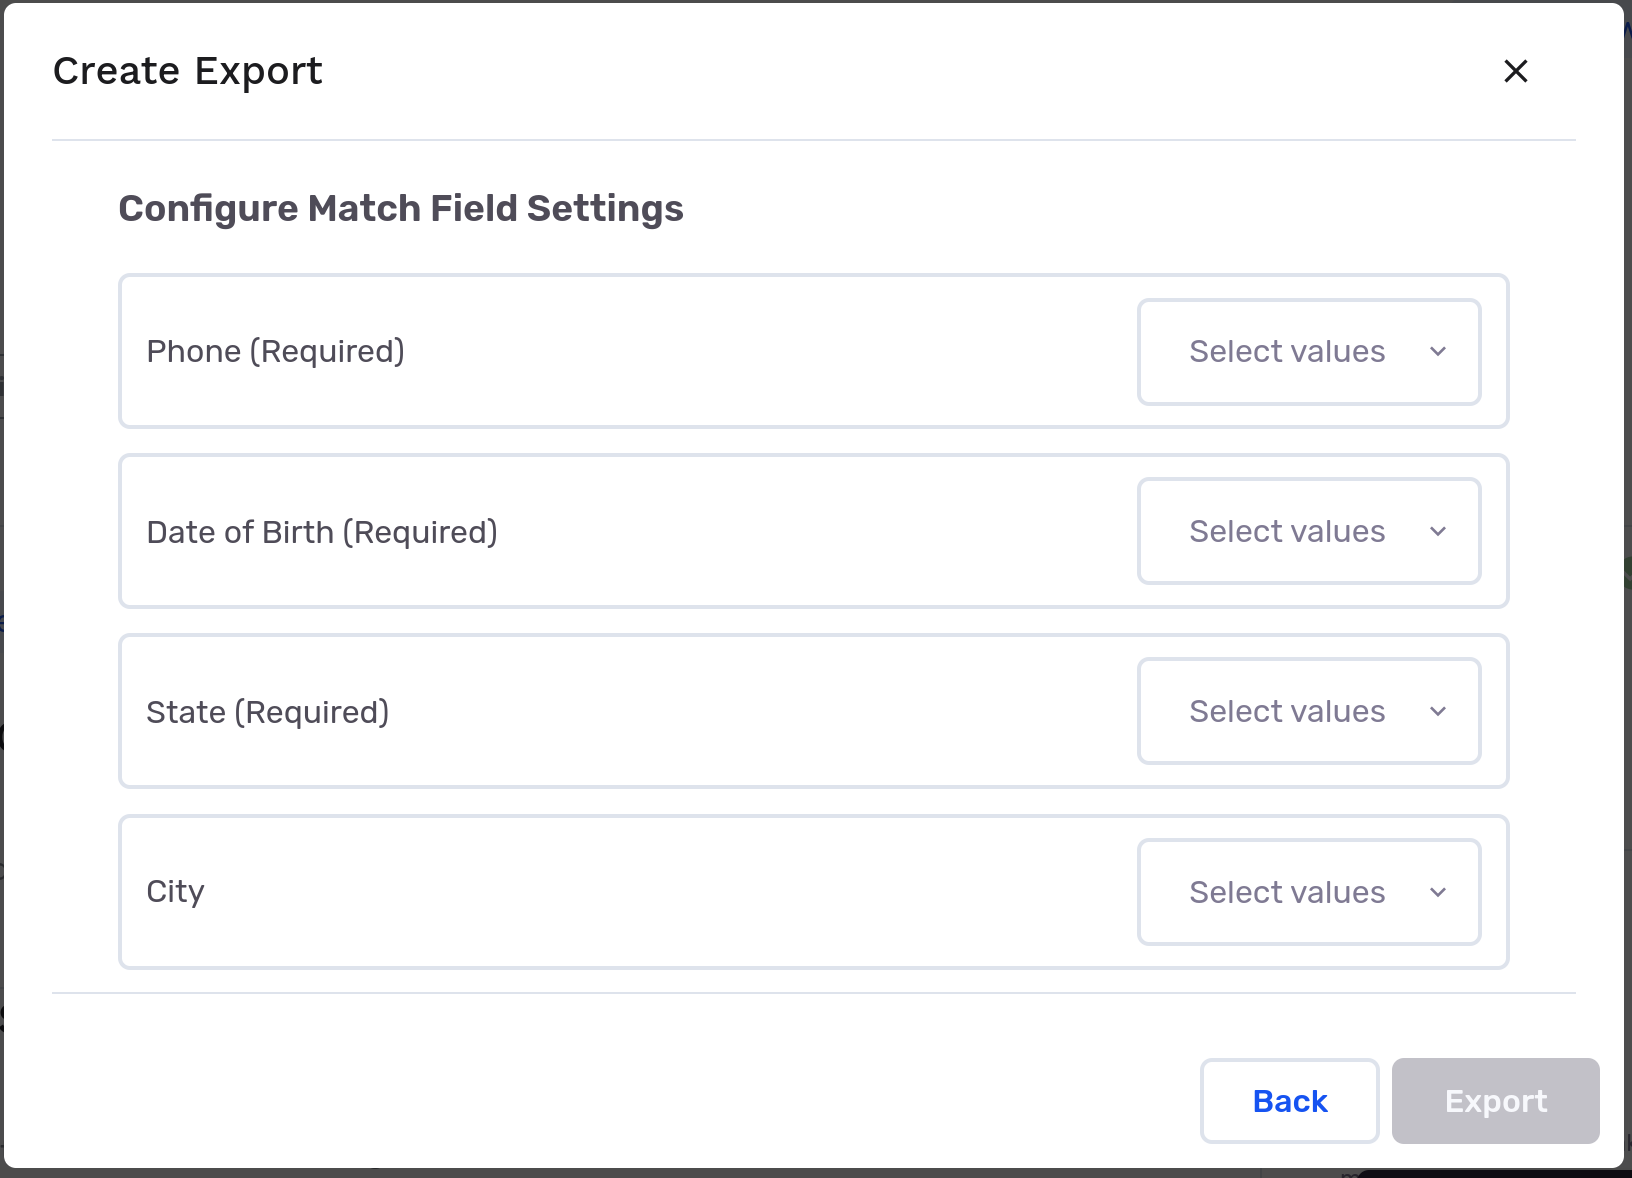
Next, go to the Match Fields tab to set up your match field settings. Mapping Phone, Date of Birth, and State is mandatory for the export process. Ensure they are in the correct format:
- Phone: XXX-XXX-XXXX
- Date of Birth: YYYY-MM-DD
- State: Full name (e.g., California) or Abbreviation (e.g., CA)
-
Click Export. To view your exported audience, login to Community and navigate to Communities.
That's all! You have successfully exported an audience to Community. If you need further assistance setting up your integration, please reach out to your Customer Success team!
Contact: [email protected] for Community support.
Contact: [email protected] for GrowthLoop support.